You configure carriers in PrestaShop 1.6

One of the most important issues when it comes to set up shop in PrestaShop is the transport configuration. It is important to have in mind that PrestShop works by areasunderstanding these areas like countries, provinces, cities...
Create new zones in PrestaShop
To access the areas and to create that we need, it is necessary to access Location > area
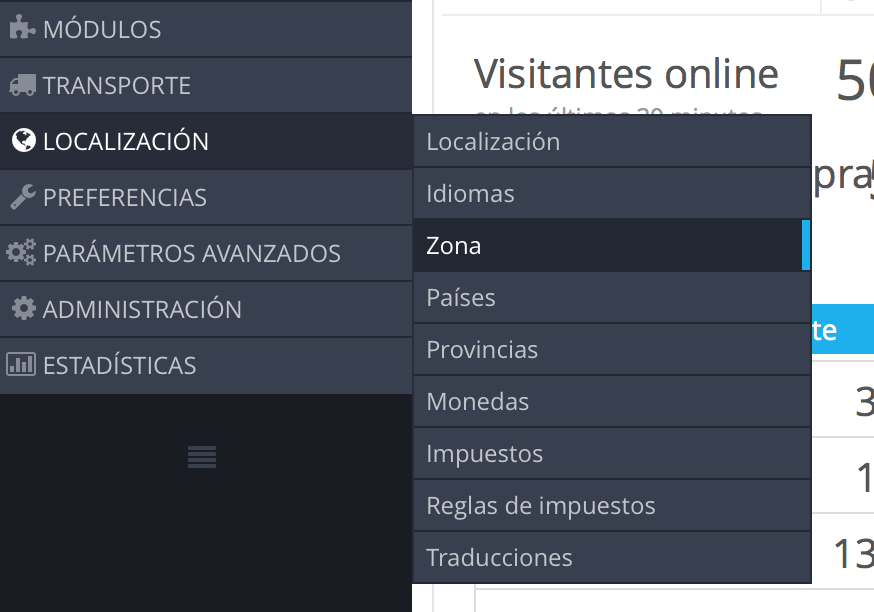
Once done, we accede to a window where we can see all zones by default in PrestaShop:
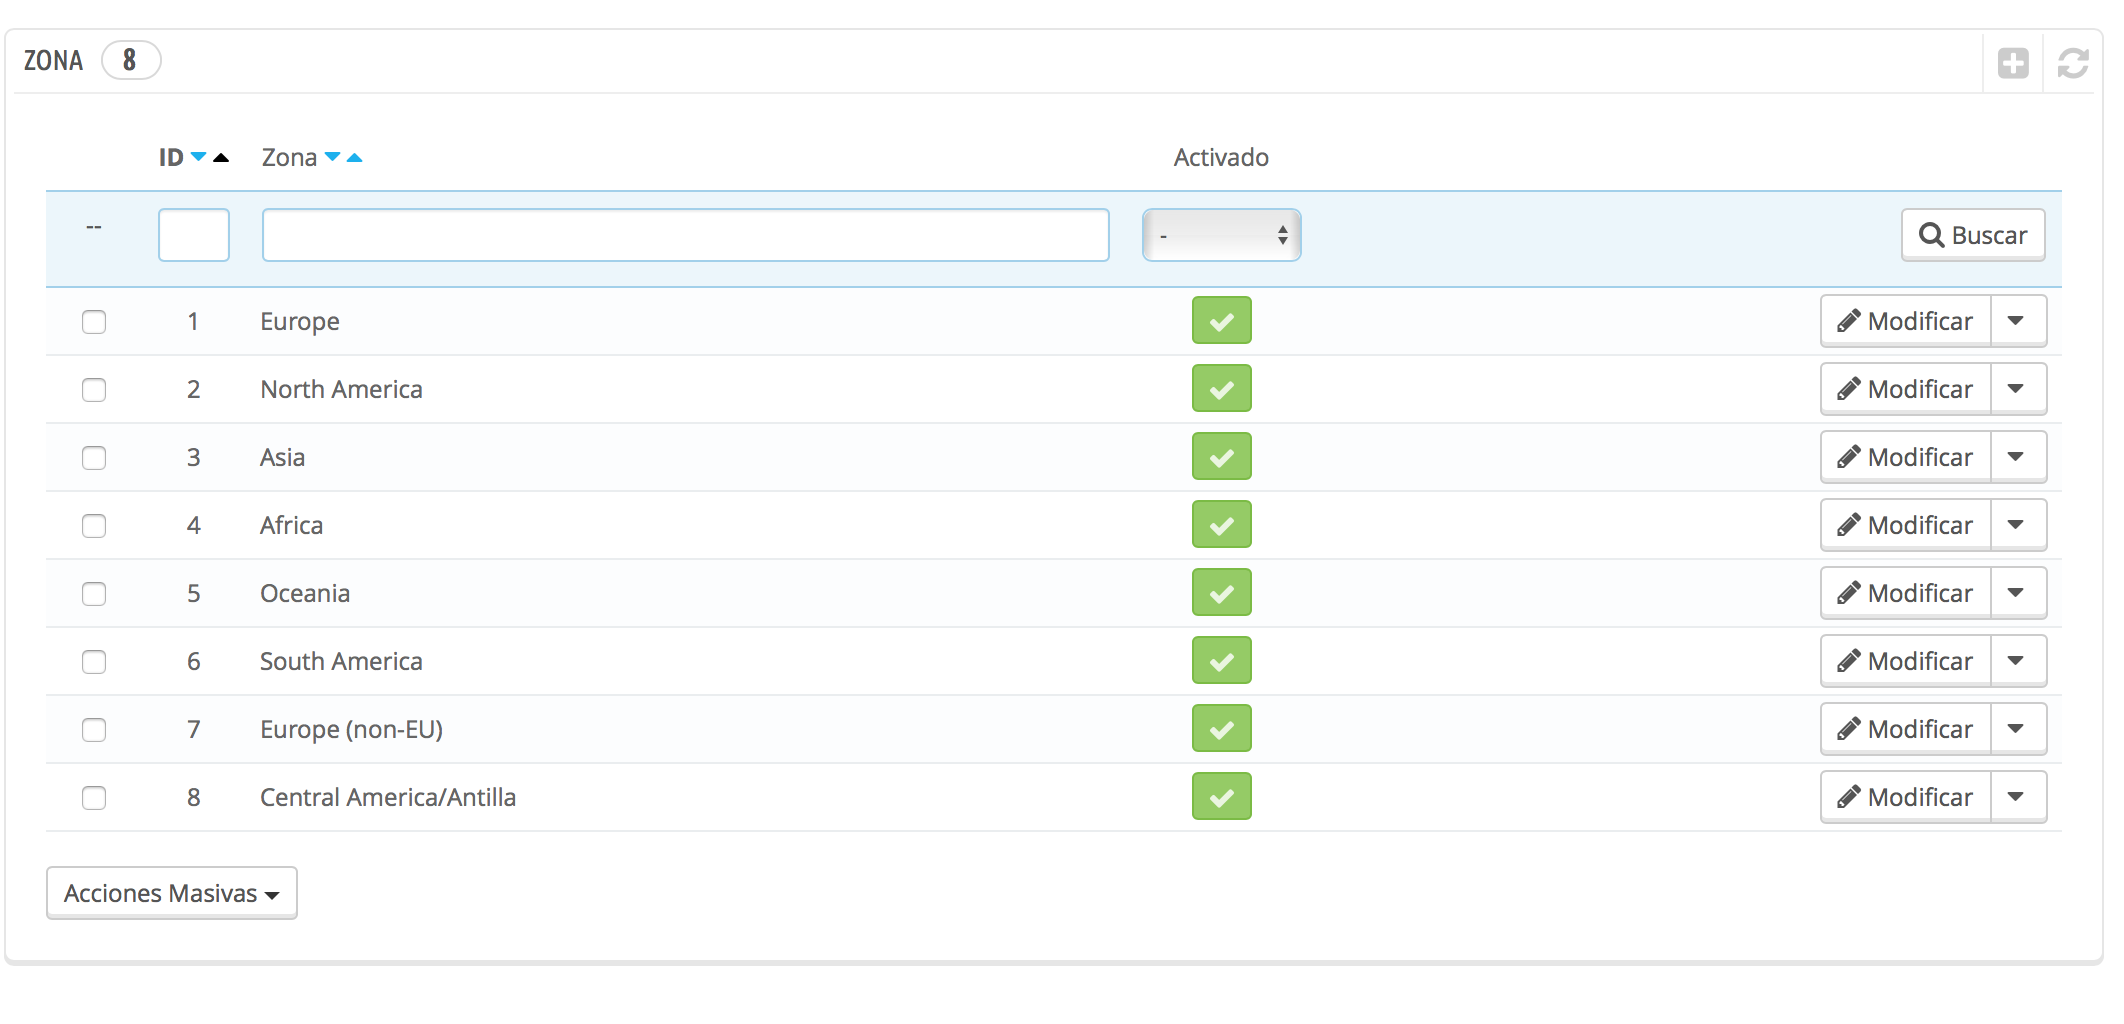
Once here you can create areas that we need. In this case we will create three areas: Peninsular Spain and Balearic Islands, Canary Islands and Ceuta and Melilla.
To create these areas only have to click the icon of + and opens a new window where you will have to add the desired areas.

When you have added all, they already appear in the previous list:

Remember that it is here where you have that to configure all zones you are going to need, whether national or international.
Make sure that all areas are mapped to their corresponding parent zone
Now to configure the transport we must have one very important thing in mind. Each country has to be within the area corresponding, each province within their country and each municipality within its province, and so on. You have to be especially careful with this party if it will not have problems when setting up the shipping.
After that we will assign each area to the country that apply to you. So we have access to Location > countries and the following window showing. We are going to find Spain where you have to click on Modify:
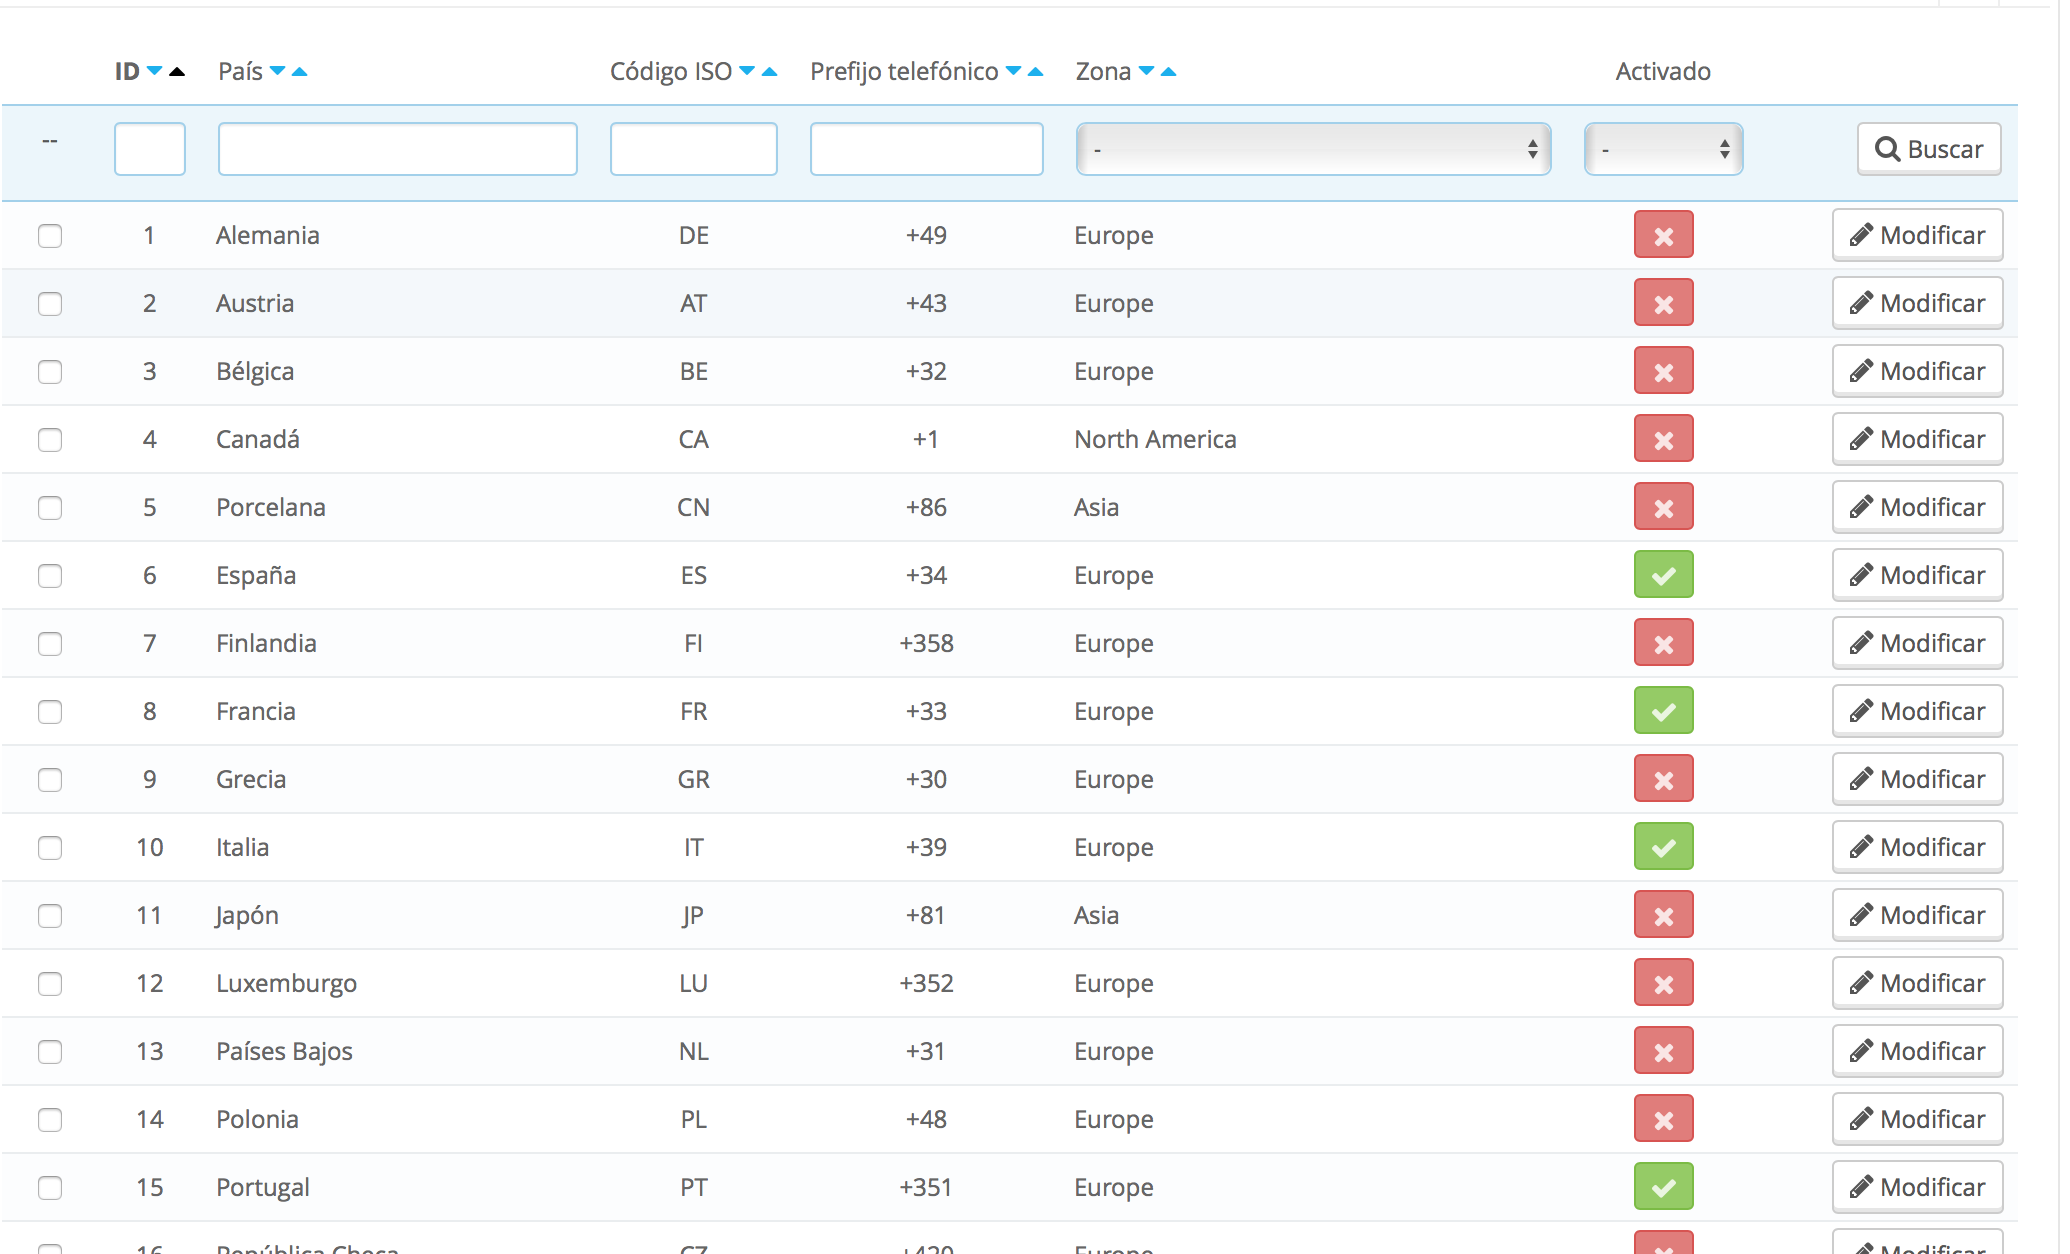
Once inside, we will have to indicate that the default zone is Spain is the area we have created before. Mainland Spain and the Canary Islands:
When everything is correct, click on Save and now we can proceed to configure the provinces.
To create the provinces will be necessary to Location > provinces. Starting with version 1.6, PrestaShop already contains by default the provinces of the country, so it's not necessary to add them manually. We will look for the provinces and Spanish and we can see that already appear associated with the Peninsular Spain and Balearic area because we have modified it above:
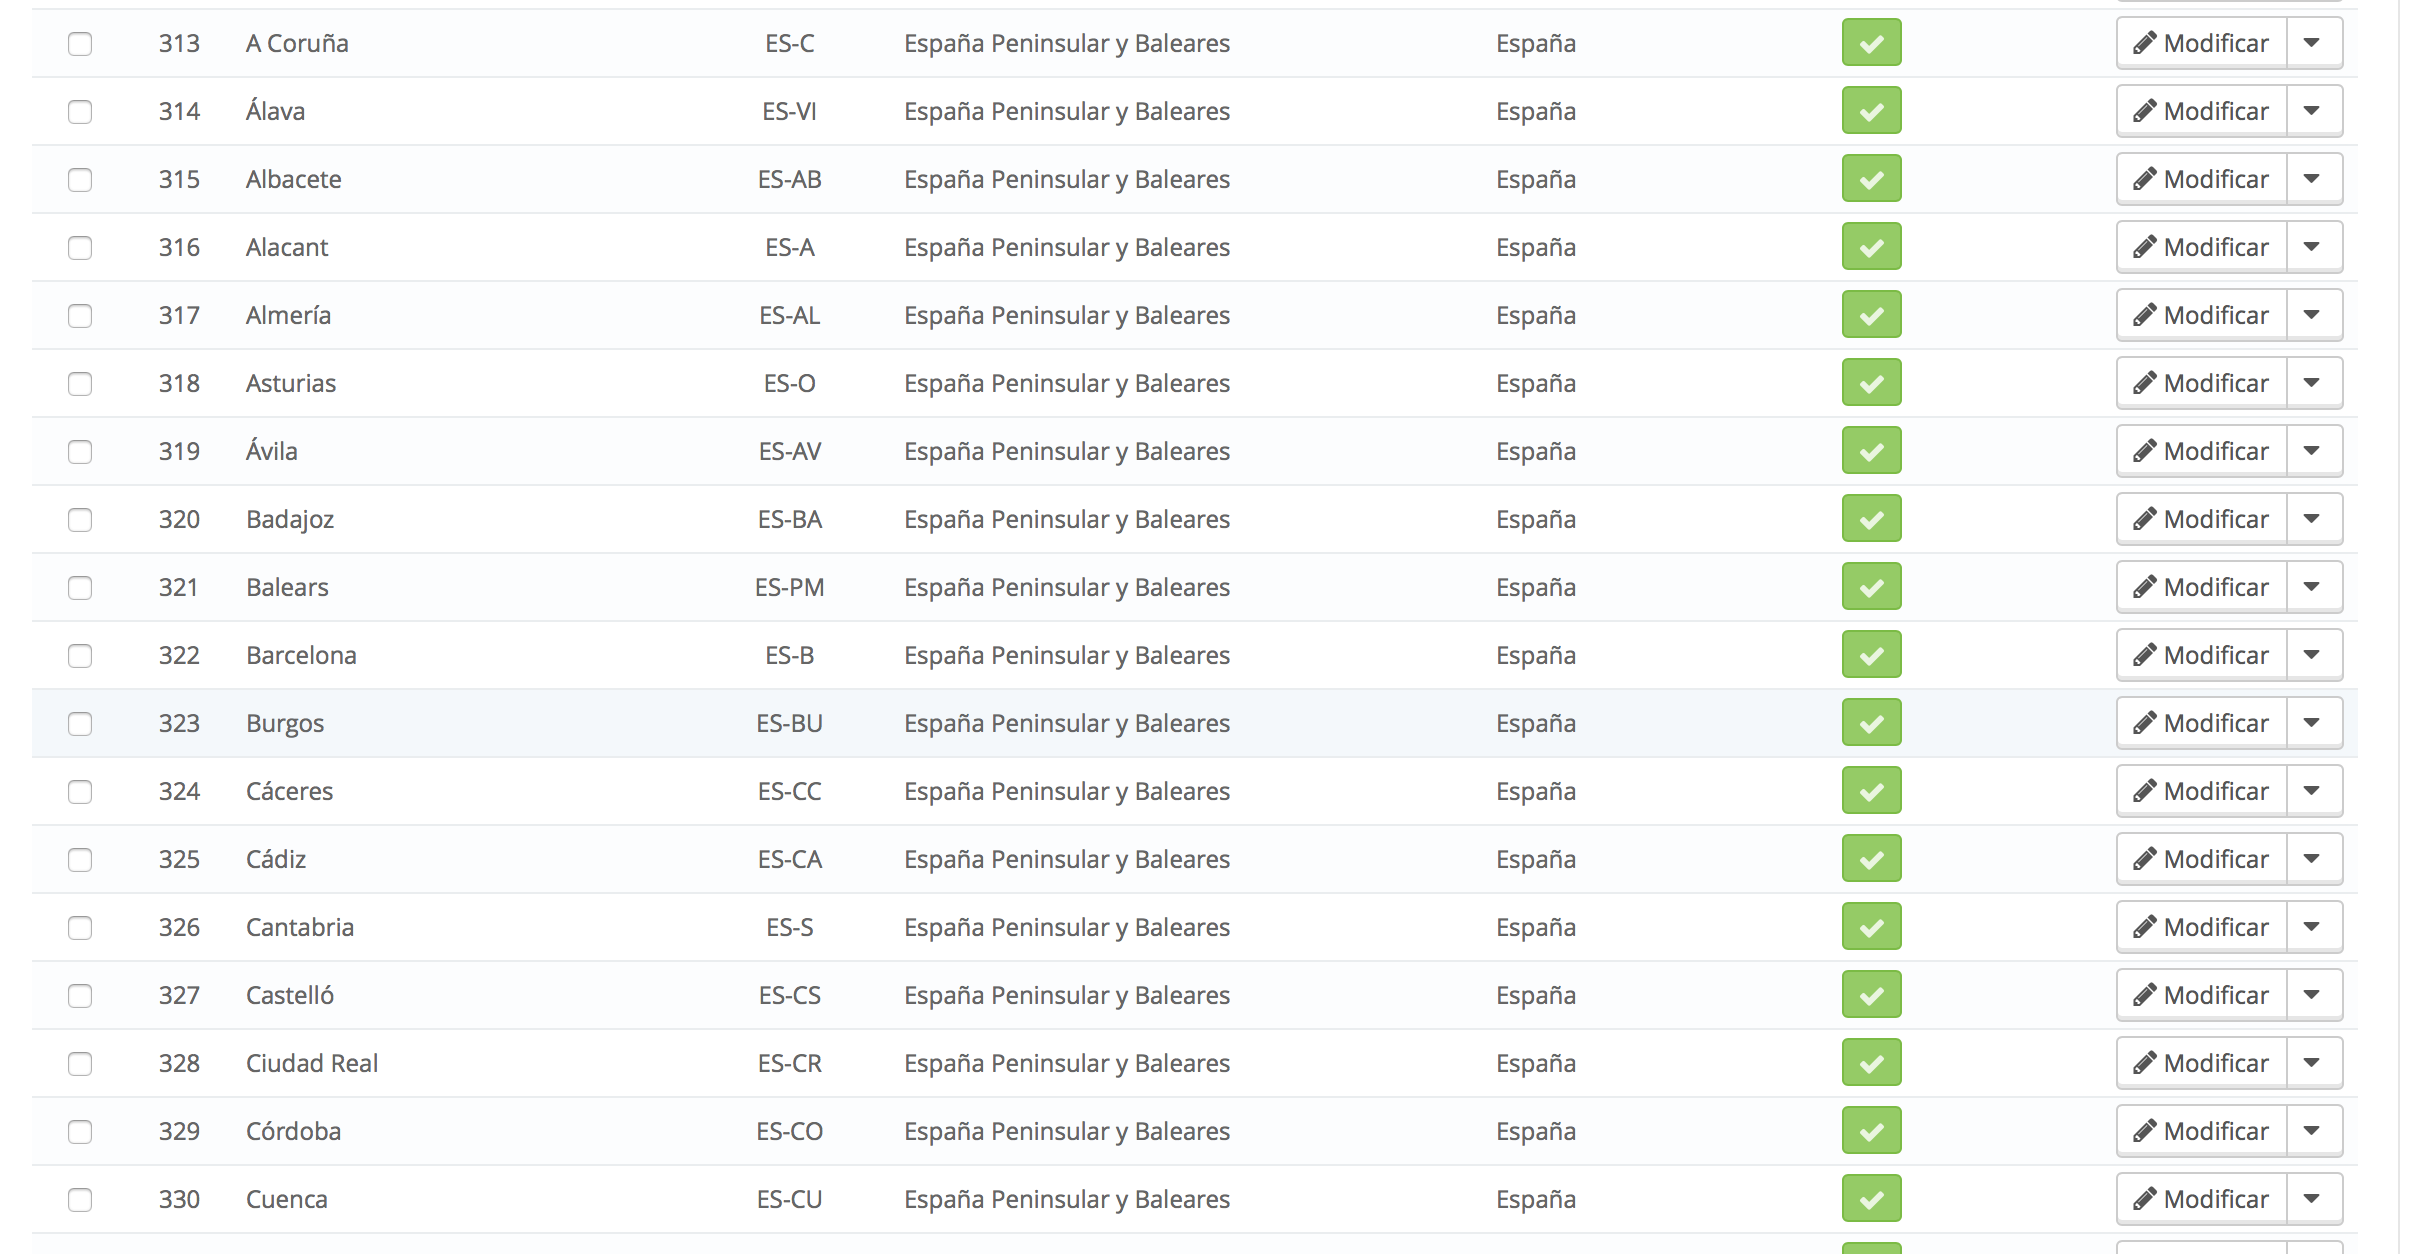
That Yes, all have been changed, but we wanted to differentiate between the Canary Islands and Ceuta and Melilla by what you must look for these provinces and linking them to the correct zone, i.e., we will have to modify Las Palmas, Santa Cruz de Tenerife, Ceuta and Melilla:
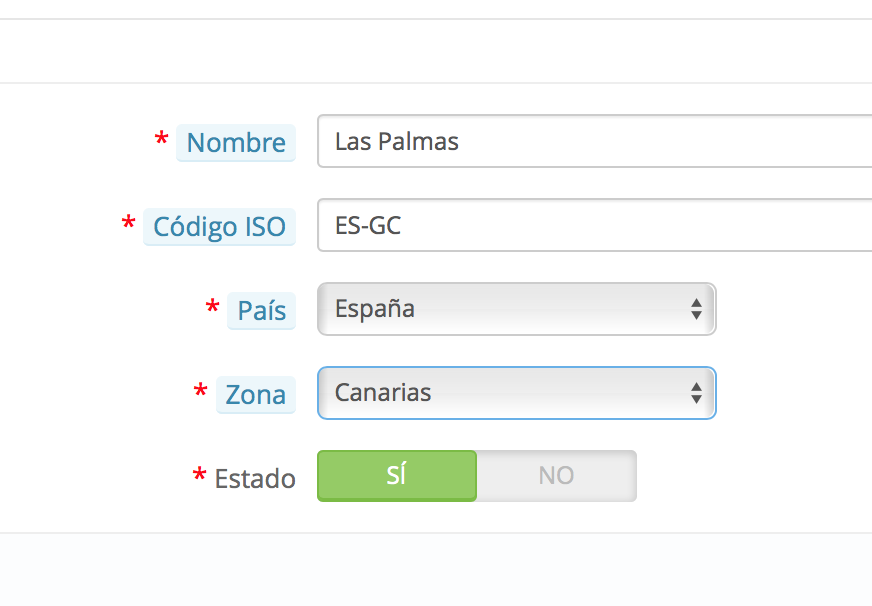
When we have changed the area at all, even belonging to Spain, they will be associated with different areas so we could configure different carriers.
Create and configure a new carrier
We will now proceed to configure carriers and shipping costs. Have access to Transport > transport:
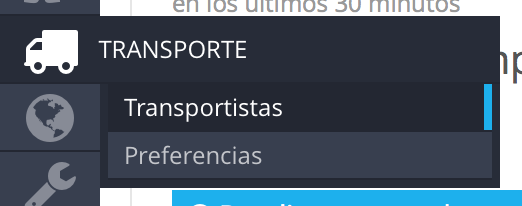
Thus accede to the next window where we will create a new carrier:

Once we have agreed, we will have to click on Add new carrier and we will begin to complete all the information requested in the different steps:
-
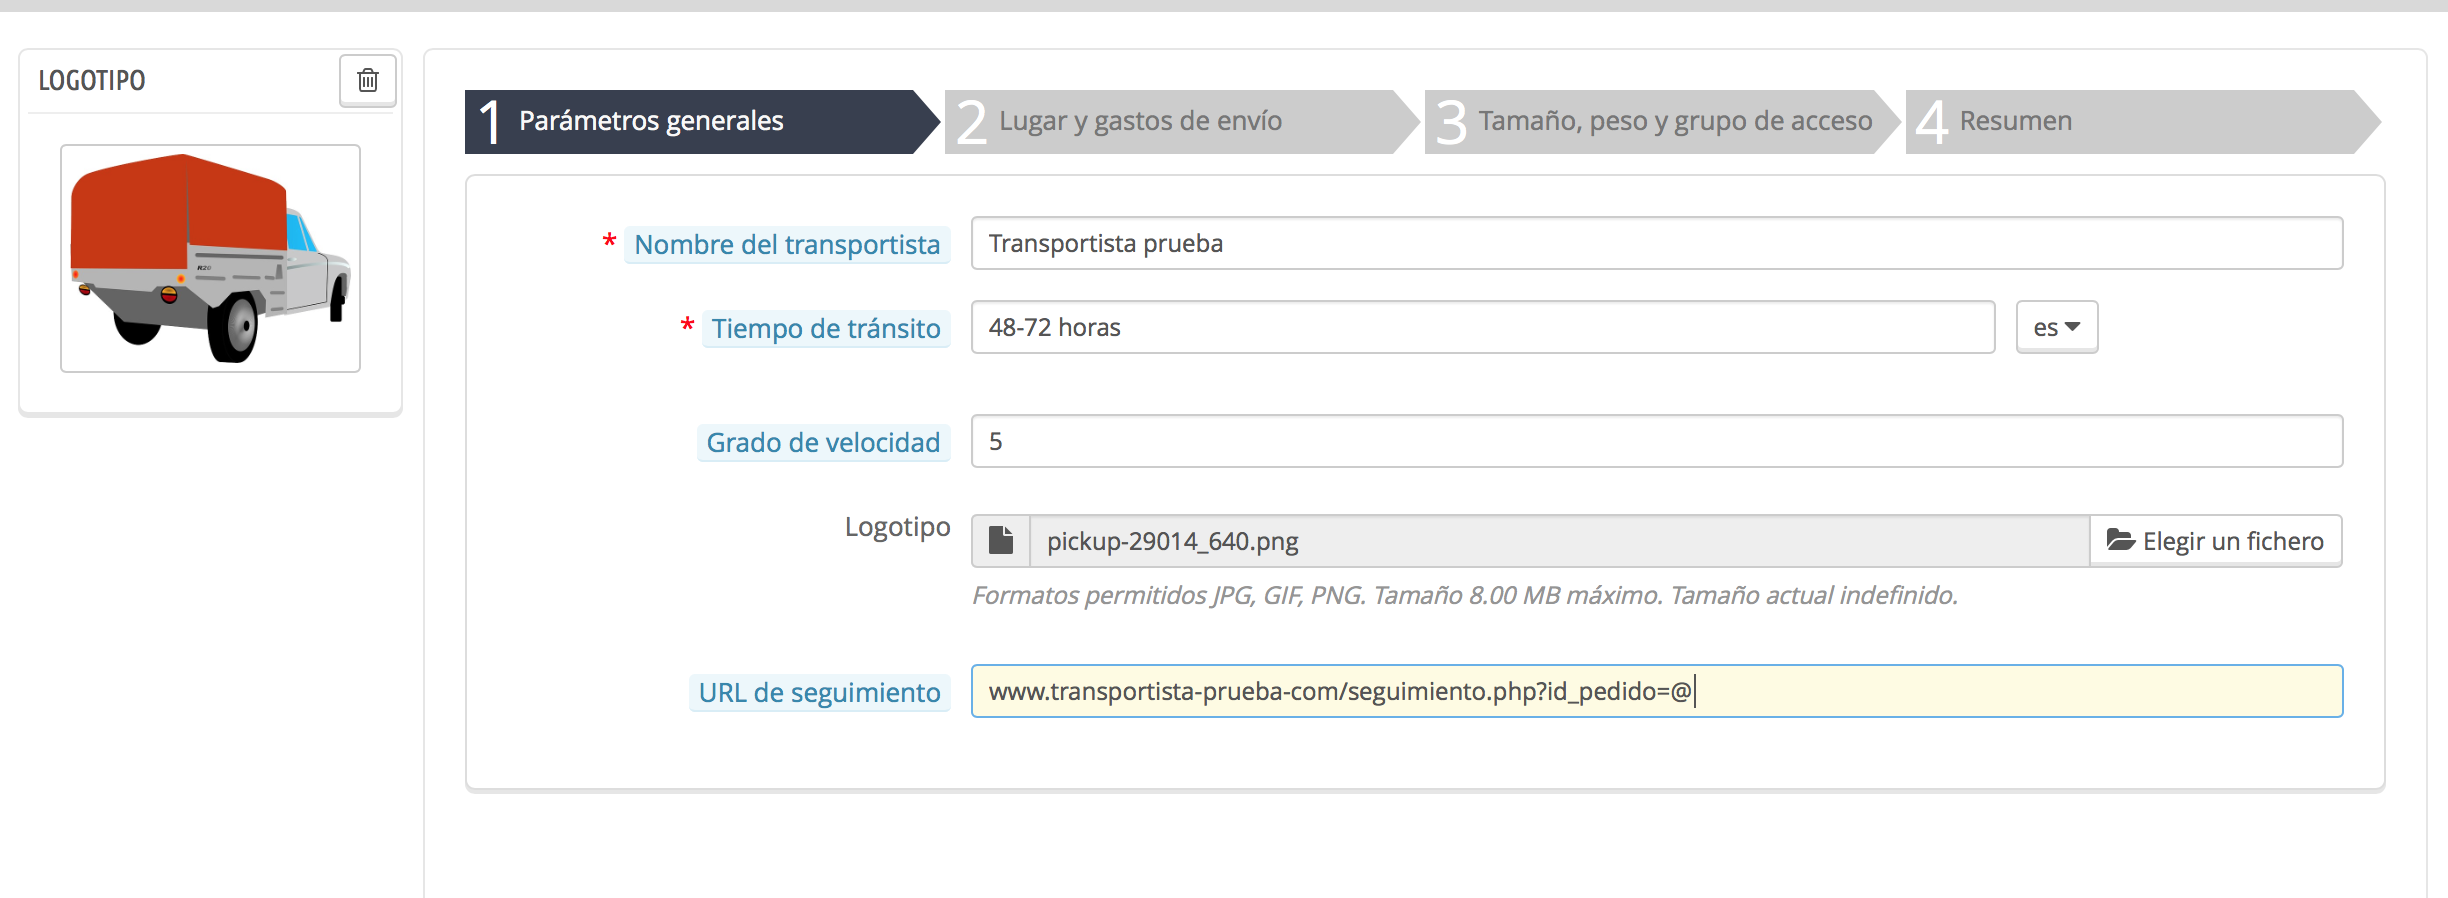
General parameters:
-
Name of carrier: Indicates the name of the carrier.
-
Transit time: the time that it takes to deliver the package
-
Speed rating: This information is not necessary to fill it. It serves to include the time that can be delayed for an order, with 0 being the longest and 9 the shortest.
-
Logo: Here you may upload an image representing the carrier.
-
Tracking URL: Here indicates the carrier tracking url, if you have it. In this way the user can consult on what state your order, is the day of delivery, etc. Remember that you have to replace the id of the order by @ so is automatically replaced by a specific package identifier.
-
Place and shipping
-
Add handling costs: Indicates Yes in the event that you want to include a cost for packing, packaging costs... This cost will be indicated in Transport > preferences and it will be the same for all carriers.
-
Free shipping: It indicates Yes the case concerned a free carrier.
-
Billing: Here you can indicate if the cost of transport want to make it dependent on of the package weight either the cost of the order.
-
Taxes: You must indicate what taxes affect this carrier. It is important to have in mind that such fees will be added to the price that you specify later in the ranges.
-
Outside the range of behavior: What happens when the order is outside the ranges created because weighs more or less than indicated or its cost is higher or lower? You can choose between disable the carriers either apply the higher cost of the defined range.
-
Ranges: Ranks them will have to create by weight or cost of the order according to what you have indicated in the billing. You have to indicate ranges between the greater than or equal to (> =) and the less than or equal to (< =) and the cost in the desired areas, for example if the cost of the order is between 0-€49.99, the customer must pay €5 + VAT shipping in Peninsular Spain and Balearic and €10 + VAT in Ceuta, Melilla and the Canary Islands.


Escribe un comentario